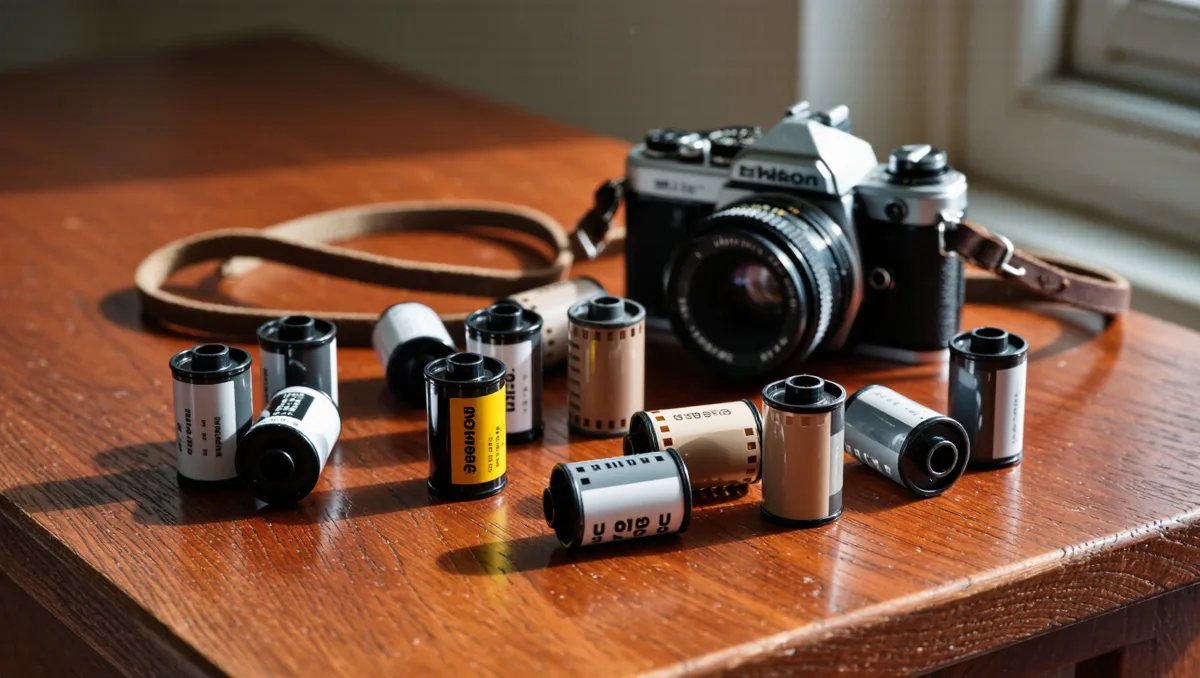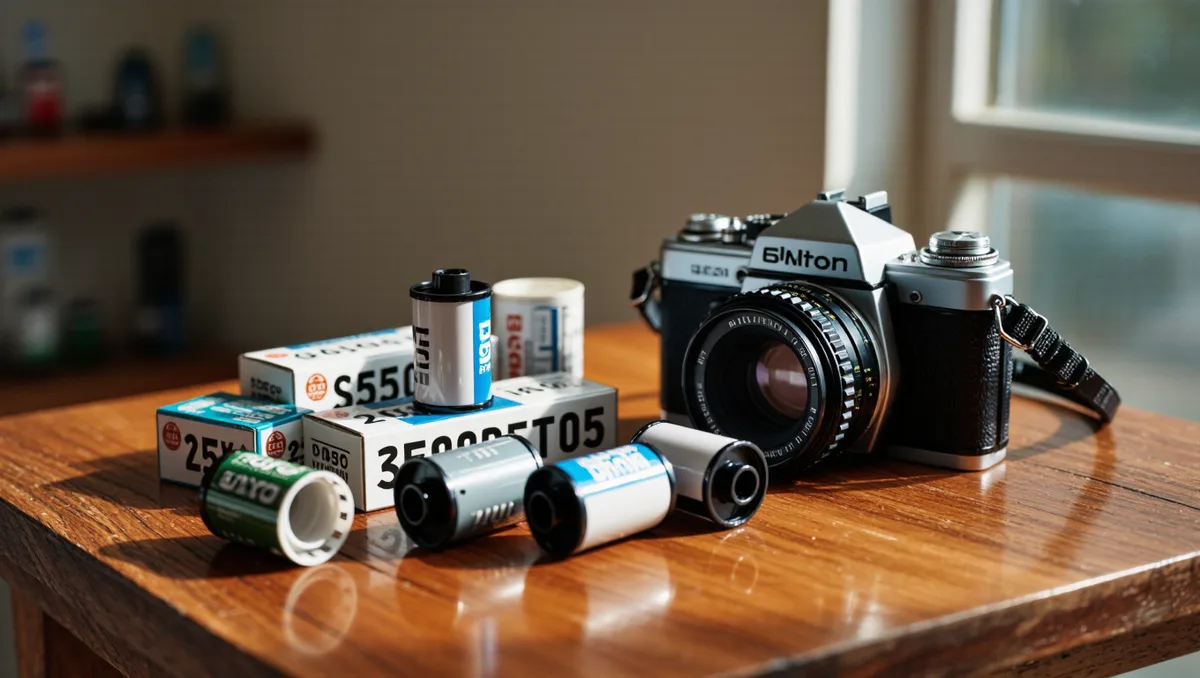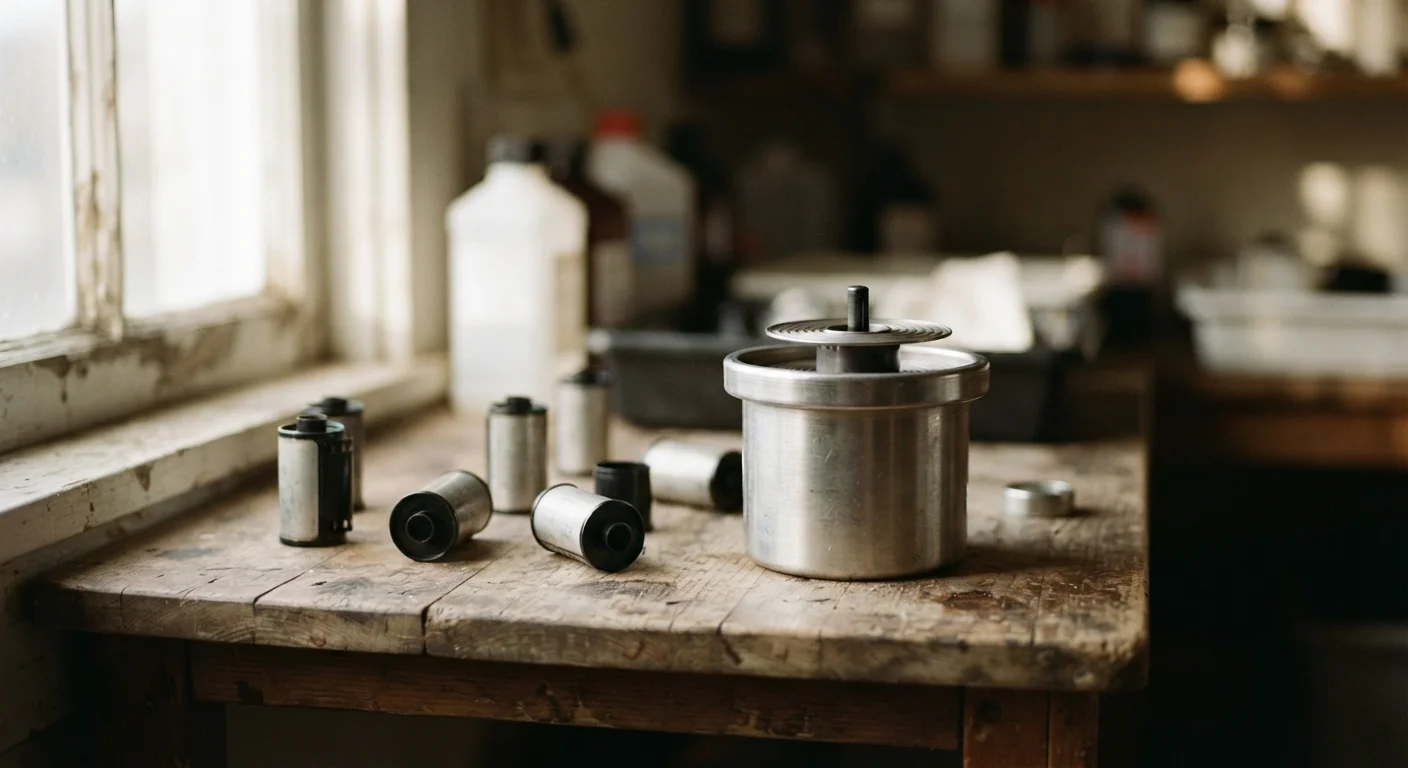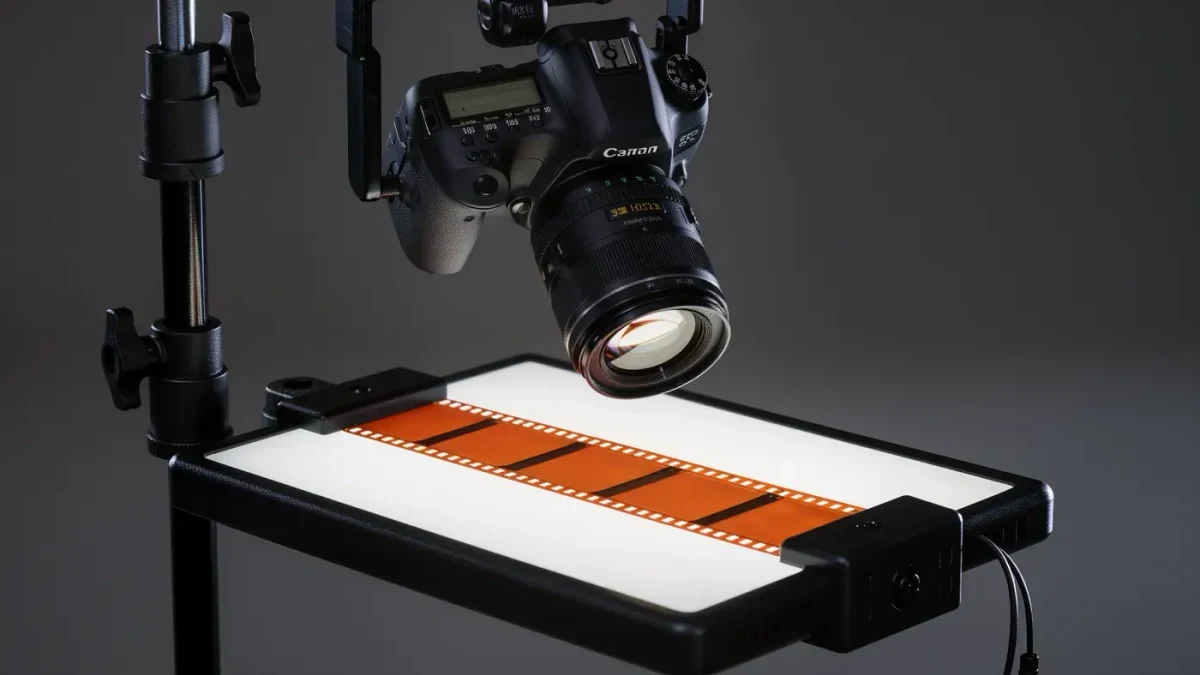
DSLR scanning photographs the negative directly with a macro rig. A 24-megapixel full-frame body resolving a 36 x 24 mm frame delivers roughly 4200 ppi — above the 4000 ppi the FADGI guidelines recommend for 35 mm film masters (FADGI, as of 2023). As of 2025, a used macro lens runs roughly $150-300, a light pad $20-40.
What gear does DSLR scanning need?
Five pieces: a camera with a true macro lens, a copy stand or tripod pointing straight down, a diffuse light source, a film holder, and a remote release. Flatbed owners replace all of it with one purchase; camera owners usually need only the light and the holder. As of 2025 the full list starts around $200 used.
- A macro lens reaching 1:1 magnification — a 50 or 60 mm on full frame, or extension tubes behind a standard prime in a pinch.
- A copy stand, or a tripod column between table legs, holding the camera square to the light source below.
- A diffuse, daylight-balanced LED light pad; evenness matters more than brightness.
- A film holder that flattens the strip and masks the surrounding light — negative carriers from old enlargers are excellent.
- A cable release or the self-timer, so no finger ever shakes the camera during exposure.
The resolution logic is institutional, not hobbyist: FADGI's digitization guidelines set 4000 ppi as the master-file target for 35 mm film, which a mid-range camera body reaches comfortably and most flatbeds only claim.
Film flatness is the hidden variable in that arithmetic: a strip that bows a millimeter out of plane at the edges throws focus exactly where grain lives. Purpose-built holders curve the film slightly to tension it, or clamp it between glass — anti-Newton-ring glass, or a deliberate few degrees of tilt to keep reflections moving.
How do you set up the camera?
Raw capture, base ISO, an aperture near the lens's sharpest — usually f/5.6 to f/8 — and manual focus set once with live view at maximum zoom. The camera must sit square to the film plane; a few degrees of tilt softens one side measurably. Shutter speed floats freely, since the light source is constant.
- Level the light pad first, then align the camera over it with a small bubble level in the hot shoe.
- Open live view, zoom to maximum on the film's edge or grain, and focus manually — once, then tape the ring.
- Set base ISO, aperture between f/5.6 and f/8, and let the shutter land wherever the meter says.
- Fire with a cable release or self-timer; on a DSLR, use mirror lock-up for total stillness.
- Re-check focus and squareness after every holder move — knocking the stand is the classic session-killer.
A remote release and self-timer both work; the vibration to avoid is the finger on the body. On DSLRs, mirror slap outweighs shutter shake at these magnifications, which is why mirror lock-up plus a two-second pause produces visibly crisper frames of the same negative.
How do you expose and white balance for negatives?
Expose the negative as a mid-tone object and set white balance against the light source, not the film. Slides tolerate normal histogram logic; color negatives hide an orange mask that confuses meters and auto white balance alike. One empty-frame capture of the light pad gives the reference that makes inversion predictable.
- Photograph the bare light pad first and set a custom white balance from that frame.
- Shoot everything raw, exposing so the histogram sits mid-scale with no clipping at either end.
- Ignore on-screen colors entirely — an un-inverted negative is supposed to look wrong.
- Crop to the frame edges in software, not by reframing the camera, so alignment never drifts mid-roll.
How do you invert the negatives afterward?
In software, not in camera. Current tools invert the image and unmask the orange base in one step: Lightroom has built-in negative profiles, Darktable handles inversion for free, and dedicated plugins like Negative Lab Pro add workflow. The craft is in the endpoints — setting black and white points before touching color.
- Import the raw captures and apply the inversion profile or plugin preset to the batch.
- Set the black point on the deepest shadow with detail, then the white point on the brightest texture.
- Correct remaining casts per channel in small moves — the mask removal does most of the work.
- Export masters as 16-bit TIFFs and working copies as JPEGs; keep the raw files as the true originals.
Color negative scanning rewards restraint in correction: pull the endpoints neutral first, then judge warmth and saturation. Slides invert with a simpler curve but tolerate less pushing — a dense chrome holds maybe two stops of recovery before contrast collapses, so exposure at capture matters more, not less.
How does camera scanning compare with a flatbed?
On 35 mm, it is not close: a camera resolves roughly 4200 ppi where a typical flatbed delivers an optical 2400-3200 ppi, and the difference shows in grain sharpness and fine detail. On 120 film and sheet film the flatbed closes the gap, and its larger scan area wins on convenience. The crossover sits around medium format.
Speed is the quieter advantage. A flatbed spends two to four minutes per frame plus preview passes; a camera on a copy stand captures a whole roll in that window once the workflow is set. The trade is setup discipline — alignment, flatness, and focus all live on the photographer instead of the scanner's firmware.
Flatbeds still earn their shelf space for 4x5 sheet film, contact sheets from mixed sizes, and anything where handling beats resolution. The two tools are complements: many home labs run a camera for 35 mm and a flatbed for everything larger.
What are the most common DSLR scanning mistakes?
The classics are JPEG capture, tilted camera planes, and dust nobody wiped off the negative. Every one is boring, cheap to fix, and expensive to discover after the film is archived. The subtler trap is an uneven light source — brightness falloff at the pad's edges reads as a color shift across the frame.
- Shooting JPEG. Eight-bit files posterize the moment inversion stretches their tones.
- Trusting autofocus. It hunts on grain and edges; live-view manual focus wins every time.
- Stopping down to f/16. Diffraction softens exactly the detail the rig exists to capture.
- Scanning dusty film. A one-second air-blast per frame beats ten minutes of spotting per scan.
- Light spilling around the holder. Stray glow flares the lens; mask everything but the frame itself.
DSLR scanning rewards patience at setup and pays it back at the computer: files that accept heavy correction without falling apart, and a whole roll digitized while the kettle boils. Once the stand is square and the white balance locked, the process is faster than any flatbed this side of four figures.