Film drying is where clean negatives are won or lost: everything after the final rinse is a battle against floating dust. Kodak's Photo-Flo instructions call for a 1:200 dilution as a final wetting bath before hanging film to dry (Kodak, as of 2024), and 35 mm rolls then need one to two hours of still, dust-free air.
How do you prepare film for drying?
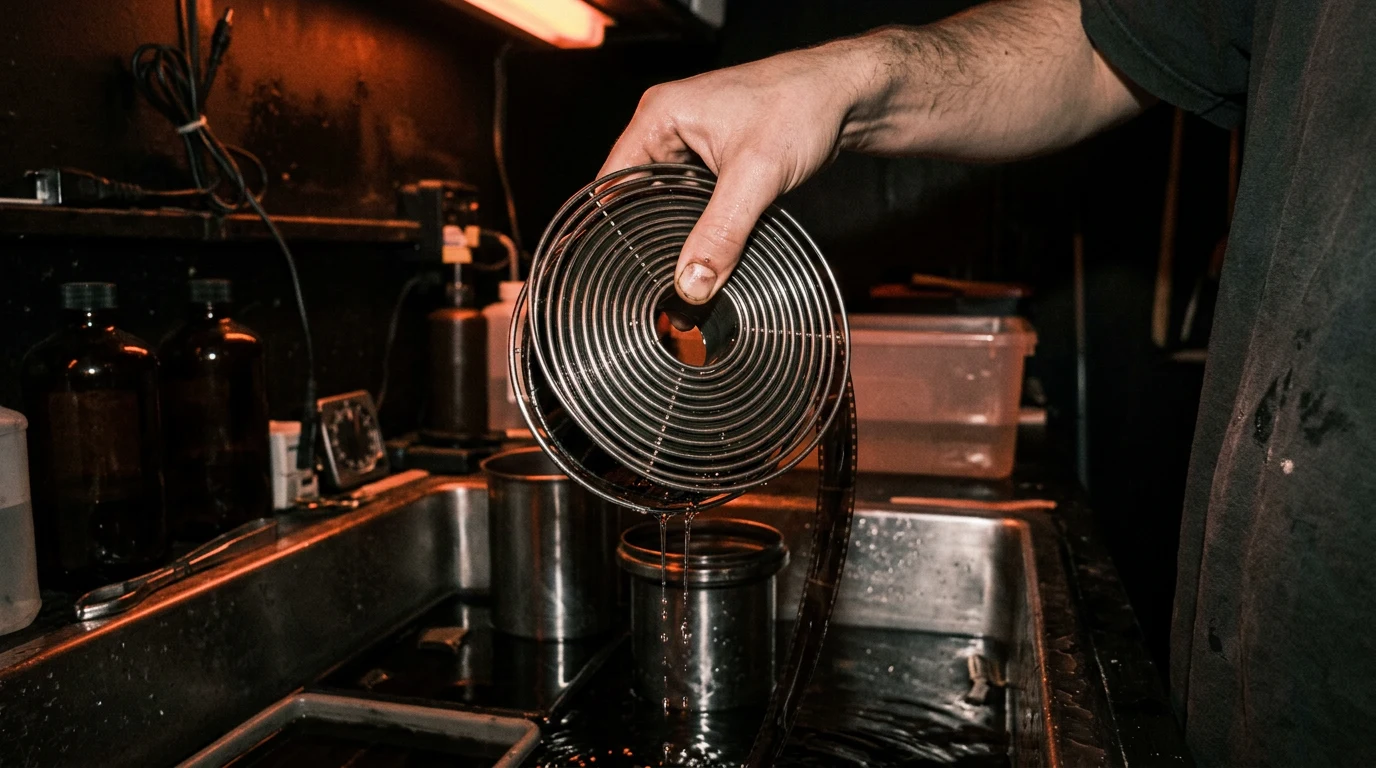
Finish the wash, dip the film in wetting agent, and hang it immediately with a weight at the bottom. The wetting bath breaks water's surface tension so the sheet drains in an even film instead of gathering into drops — the difference between spotless negatives and dried mineral rings. No squeegee, no fingers, no shortcuts.
- Complete the final wash — five to ten minutes of running or several-change water at processing temperature.
- Mix the wetting bath fresh at 1:200 for Photo-Flo or the equivalent Ilford Ilfotol dilution, in a clean graduate.
- Dip the whole roll for thirty seconds with one gentle inversion, then lift and drain over the sink.
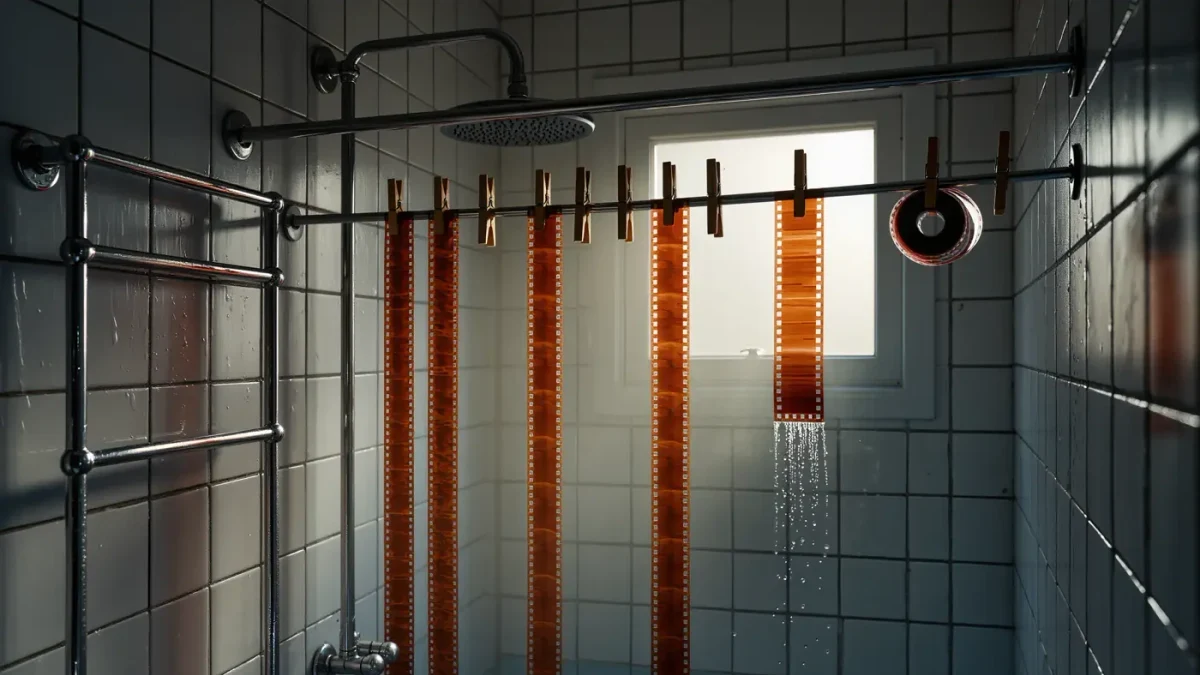
- Hang immediately from a shower rod or line with a film clip, and weight the bottom with a second clip or small weight.
- Let the roll drip onto a towel for the first minutes, then leave it strictly alone until dry.
Wetting agent is measured, not splashed: too strong a bath leaves its own scum, too weak leaves spots. One milliliter per 200 of water is the working math on Kodak's sheet, mixed fresh each session in a clean graduate.
Where should film dry?
In the smallest, stillest, cleanest room available — a bathroom after a hot shower is the classic, because steam knocks dust out of the air before the film goes up. No fans, no open windows, no heating vents pointed anywhere near the line. The air should feel slightly humid and completely motionless.
- Run a hot shower for five to ten minutes, then let the steam settle for a few more while the room air clears.
- Wipe the shower rod or line and any nearby shelves with a damp cloth — dry-dusting just launches the particles.
- Hang the rolls spaced apart so they cannot touch and clink emulsion against emulsion.
- Shut the door and tape the gap if the room drafts; motion is the enemy, not time.
- Leave the room closed until the film is dry — every visit exchanges clean air for dusty air.
Drying cabinets and dedicated film drying enclosures exist for high-volume darkrooms, but a bathroom and patience accomplish the same result. The one investment worth considering for regular processing is a proper film clip with a weighted bottom — spring clothespins work, but dedicated clips grip the leader without crimping it.
How do you stop dust at the source?
By cleaning the room before the film exists in it, and by keeping air moving only when no film is hanging. Dust on a dry negative is a spotting problem; dust landing on wet emulsion becomes physical. Run an air purifier in the afternoon and switch it off the moment film goes up.
- Wipe, never sweep. A damp cloth on surfaces an hour before loading removes what a duster launches.
- Run the purifier early, not during. Filtered air is clean air; a running purifier is a wind tunnel.
- Rinse with filtered or distilled water in hard-water areas. Minerals, not chemistry, are what spot.
- Store clips and line in a closed bag. A dusty clip deposits a neat row of marks down the film edge.
- Cut and sleeve only when fully dry. Slightly damp film attracts dust and curls in the sleeve.
Indoors, this is the same particulate problem regulators track from other sources — the EPA's material on particulate matter explains why smaller particles stay airborne longest, which is exactly the fraction wet emulsion collects.
What about water spots?
Water spots are minerals left behind when a drop dries in place, so the cure is water without minerals or drops that cannot hold together. A proper wetting-agent dip plus a distilled-water final rinse solves nearly every case. Established printers do draw two clean, wet fingers down the film — effective, and one slip from a scratch.
Spots already dried onto a finished roll are treatable: re-wet the whole film in a fresh wetting bath and dry it again in a clean room. Local dabbing dries its own ring. Prevention costs one graduate of diluted wetting agent; correction costs an evening.
The two-finger squeegee deserves its caution repeated: it works only with thoroughly wet film, freshly washed hands, and a single light pass from top to bottom. Any grit caught under a finger drags a full-height scratch. The wetting agent plus a weighted drip does ninety percent of the same job with none of the risk.
How should you handle and sleeve film after drying?
With clean, dry hands, by the edges only, straight into archival sleeves. Cutting a dry 35 mm roll into strips of five or six frames keeps frame numbers readable and fits standard sleeve pages. Handle negatives as little as possible before scanning — every transfer is another chance for a fingerprint or a scratch.
Inspection comes before sleeving: hold each strip at an angle to a bright light and read the surfaces. Embedded dust shows as raised specks; drying marks show as rimmed circles; scratches read as bright lines on the base side. Knowing which defect is which tells you whether to fix the drying room, the water, or the camera.
Sleeves themselves have opinions: polyester pages are the archival standard, polyethylene a fine budget choice, and PVC the one to refuse — its plasticizers haze film over years. Whatever the material, sleeve before storage boxes close, and store the boxes standing on edge like books, not laid flat in stacks.
What are the most common drying mistakes?
Touching the emulsion, rushing the dry, and fighting the room. Wet gelatin is soft gelatin; a fingertip pressed to test dryness leaves a permanent print of itself. Fan-drying saves less than an hour and costs the roll. And a dusty room defeats every chemical step that came before it.
- Testing dryness by touch. Dry film feels dry at the edges hours before the emulsion center is.
- Pointing a fan at the line. Moving air carries the dust the whole method exists to avoid.
- Drying near a heating vent or radiator. Heat curls film and bakes dust onto the emulsion.
- Reusing wetting solution. It collects the very residue it exists to prevent; mix it fresh.
- Hanging film where clothes traffic passes. A brushed sleeve is a forty-frame scratch test.
Film drying is the least glamorous stage of the process and the one that decides how the other stages look. Two minutes of preparation and one closed door deliver negatives that scan and print as if the air itself were clean — because for a few hours, it is.