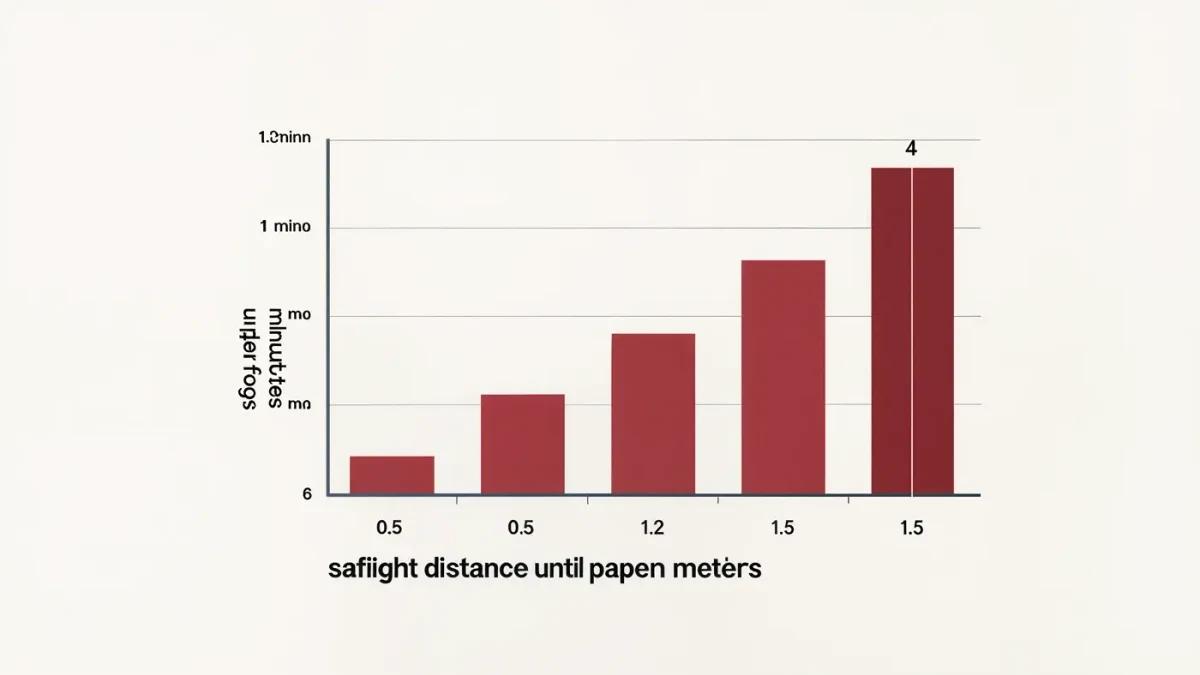
A bathroom darkroom works because the room already has what a darkroom needs most: running water and a door that seals. Per Ilford's safelight guidance, paper should sit at least 1.2 metres from the safelight and stay under about four minutes of exposure (Ilford, as of 2024). As of 2025, a starter setup of used gear runs roughly $150-400.
How do you light-proof a bathroom?
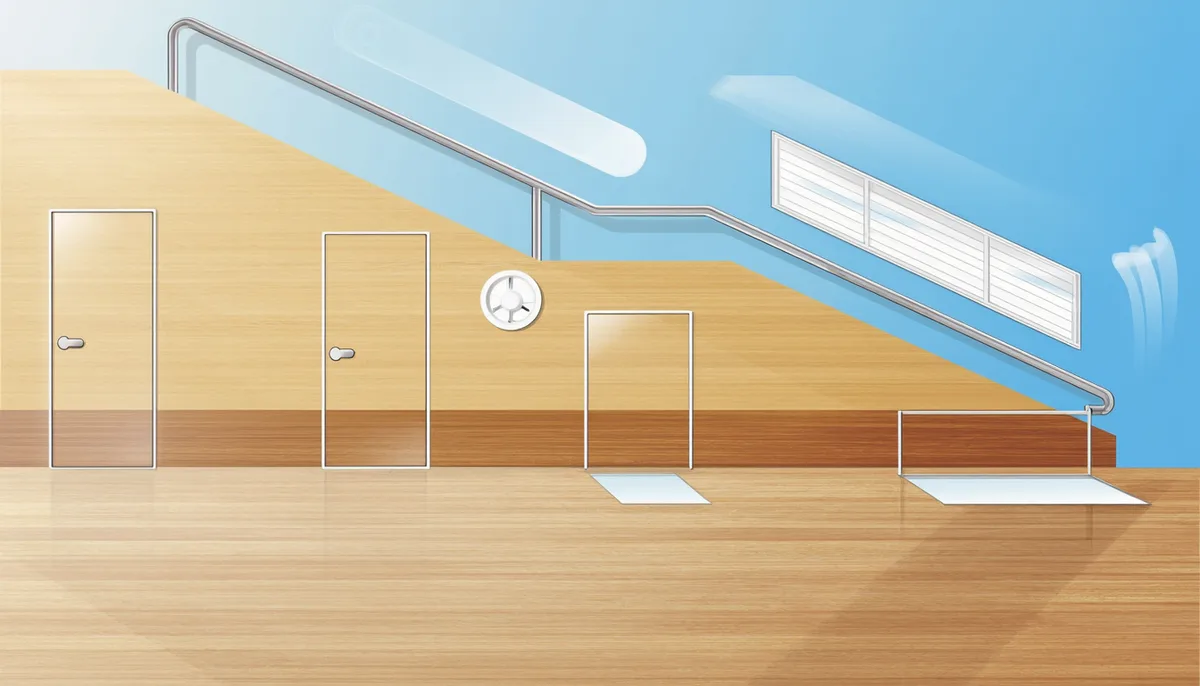
Treat every gap as a leak until the room proves otherwise. Run a full darkness check: sit inside for ten minutes with the door shut and lights off, let your eyes adapt, and look for glow around the door, fan, window, and switch plates. Anything visible needs tape, foam, or fabric.
- Push a towel or draft stopper along the bottom of the door — the most common leak in almost every bathroom conversion.
- Run black gaffer tape over switch LEDs, nightlights, and the edges of any window frame; two layers beat one.
- Hang blackout cloth over the window and tape its sides to the wall, not the frame, so the cloth moves with the tape.
- Cover the exhaust fan with a removable layered cardboard flap. Never seal a fan permanently — trapped humidity ruins both the room and the paper.
- Re-run the ten-minute check after each change. Faint leaks that look harmless at first become obvious once eyes fully adapt.
One caveat from shared buildings: exhaust fans that vent into a common duct can carry light back in from neighboring apartments after dark. If the fan glows faintly at night with the room lights off, the removable flap stops that leak along with the dust.
Where should the safelight go?
High, angled away from the paper, and at least 1.2 metres from the easel. Bouncing a purpose-built safelight off a wall or ceiling gives even dim illumination without a direct beam striking the emulsion. A correct safelight is nearly invisible insurance: prints stay clean, and the fog test below confirms it in one sheet.
- Mount the safelight with its filter facing a wall or ceiling, at least 1.2 metres from where paper sits exposed.
- Use the bulb wattage printed on the safelight — usually 15 W or less — and never a brighter LED substitute.
- Run a fog test: place a strip of paper half-covered by thick card on the easel for four minutes under the safelight.
- Develop that strip normally. Any difference between covered and uncovered halves means the safelight is too close or too bright.
Multigrade papers add one nuance: they are sensitive to the blue end under white light but comfortably insensitive under a proper red or amber safelight filter. That is why the filter matters more than the housing — an old safelight with the correct filter outperforms any improvised lamp.
How do you ventilate a bathroom darkroom?
Between sessions, not during them. The simplest system is behavioral: open the door and run the bath fan as soon as printing ends, letting humidity and chemistry odors clear before the room is sealed again. During a print session a light-trapped louver or simply keeping sessions under a couple of hours keeps the air workable.
- Run the exhaust fan for ten to fifteen minutes after every session before closing the door.
- Wipe trays and the sink dry before leaving; standing fixer evaporates into the room.
- Store chemistry in sealed bottles in a separate cupboard or another room, not on the darkroom counter.
- For longer sessions, add a light-trapped vent low on the door so air can pass while light cannot.
Better ventilation matters more than most printers expect, both for comfort and for paper keeping. The EPA's indoor air quality guidance covers the same principles that apply to any small, closed workspace.
What equipment does a bathroom darkroom need?
Less than most lists suggest. The enlarger is the only genuinely expensive item, and the used market is full of complete setups from closed school and club darkrooms. Everything else is trays, tongs, bottles, and patience. The table below is a realistic starter kit with used-market pricing as of 2025.
| Item | Job | Realistic price, as of 2025 |
|---|---|---|
| Enlarger with 50 mm lens | Projects the negative | $50-150 used |
| Safelight with correct filter | Illuminates without fogging | $20-40 |
| Three trays and tongs | Develop, stop, fix | $20-35 |
| Easel and grain focuser | Holds paper, sharp focus | $15-40 |
| Measuring graduates | Diluting chemistry | $10-15 |
| Washing tray or hose | Final rinse | $10-25 |
The enlarger deserves the only real shopping effort: check the column for stability, the bellows for light leaks, and the lens first — a clean 50 mm lens from any of the major makers outperforms a mint enlarger with a hazy one. Everything else in the table is commodity gear that ships cheap and lasts decades.
Can you develop film in a bathroom darkroom too?
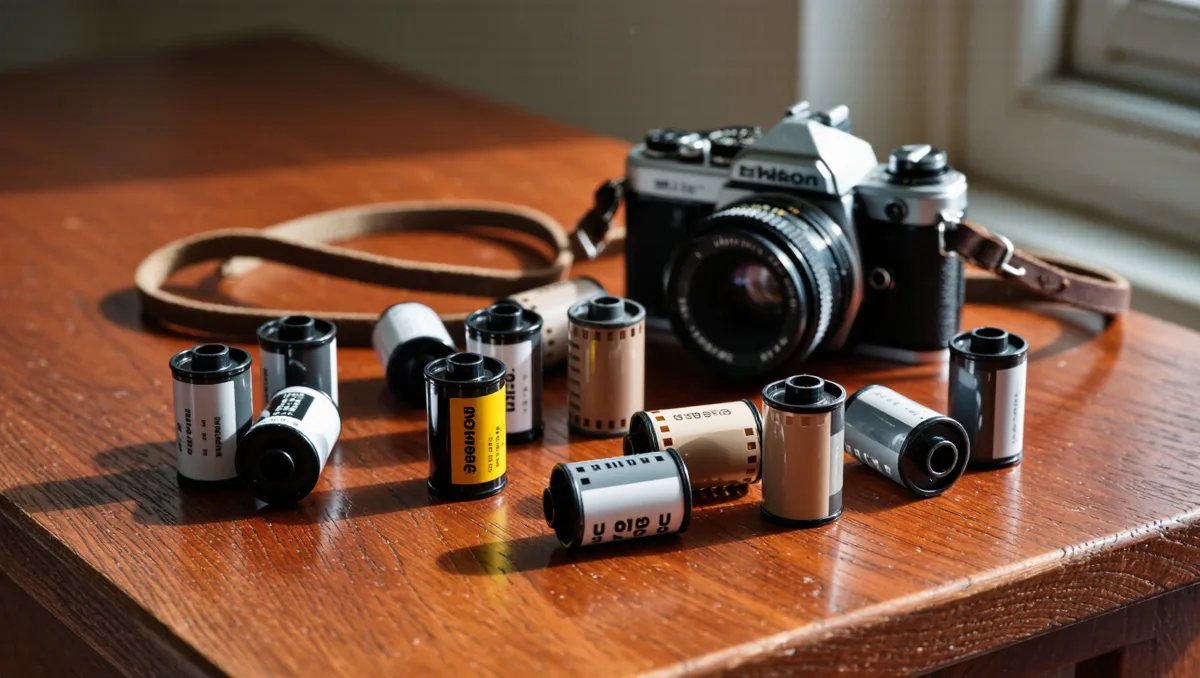
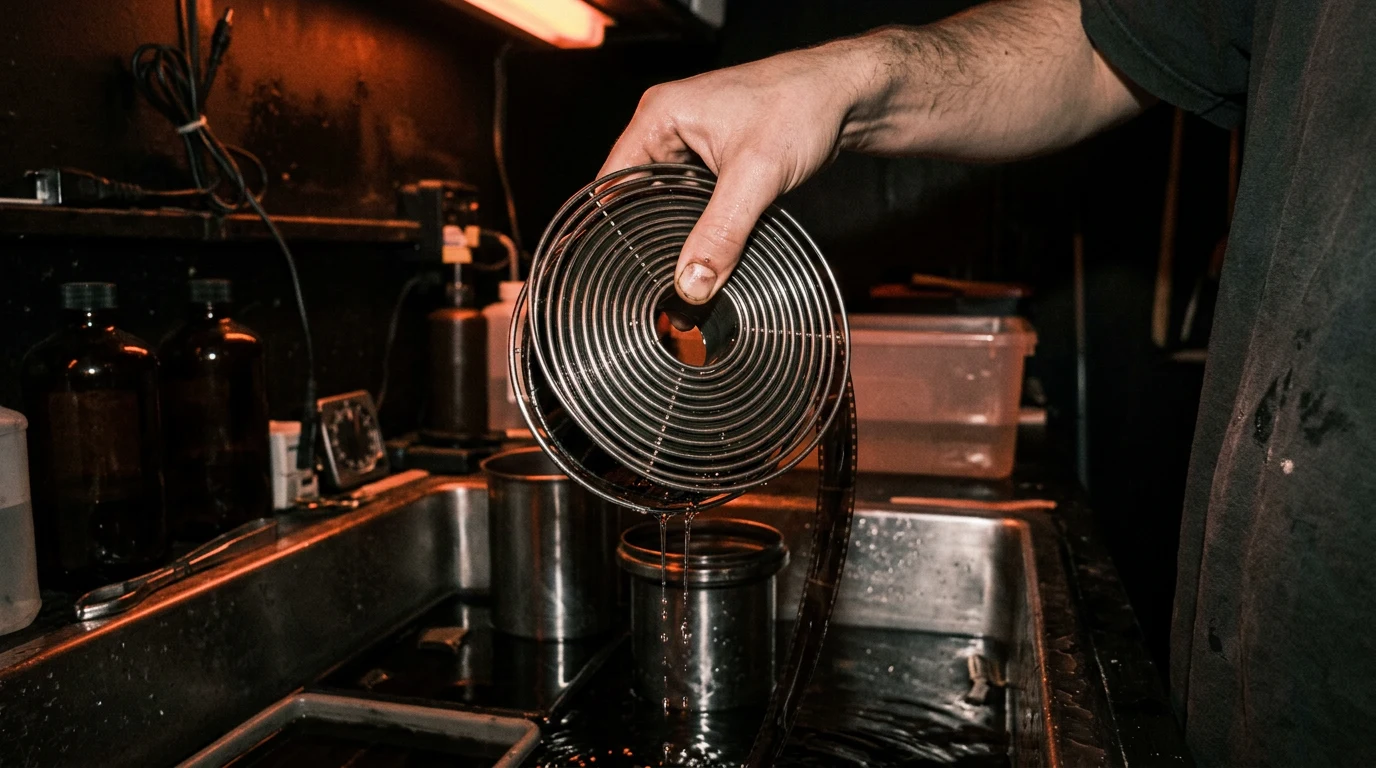
Yes, and the bathroom suits film processing even better than printing. Tanks are daylight-loaded after the changing bag, so the only dark requirement is a towel under the door for the loading step. Water temperature is the real constraint: fill a bucket or the tub to temper chemistry, and the sink handles the wash.
Film chemistry needs 20 °C, which means running the tap until it steadies and mixing developer to match. A tub of water at temperature holds both bottles and tank between steps, and the shower head doubles as a wash system once the lid is on. Developers, stop bath, and fixer all live happily in the same tray space the printing sessions use.
The scheduling rule is simple: process film when nobody needs the bathroom for the next hour, and print when nobody needs it for three. Households that share the space learn quickly which chemistry stage tolerates interruption and which absolutely does not.
What are the most common bathroom darkroom mistakes?
Three failures account for most abandoned bathroom darkrooms: light leaks that fog paper, safelights that fog paper more slowly, and sealed fans that turn the room moldy. All three are cheap to prevent and expensive to discover. Add basic electrical care around water, and the conversion stays safe.
- Skipping the dark-adapted check. Five seconds of looking is not a test; leaks surface after ten minutes of adaptation.
- A safelight shining straight at the easel. Distance and bounce angle matter as much as the filter.
- Sealing the fan permanently. Humidity from wash trays will damage the room within months.
- Regular outlets next to a wet sink. Plug enlarger and safelight into a GFCI-protected outlet if the bathroom has one.
- Paper stored in the darkroom. Chemistry fumes slowly fog boxes; store paper elsewhere, bring in what is needed.
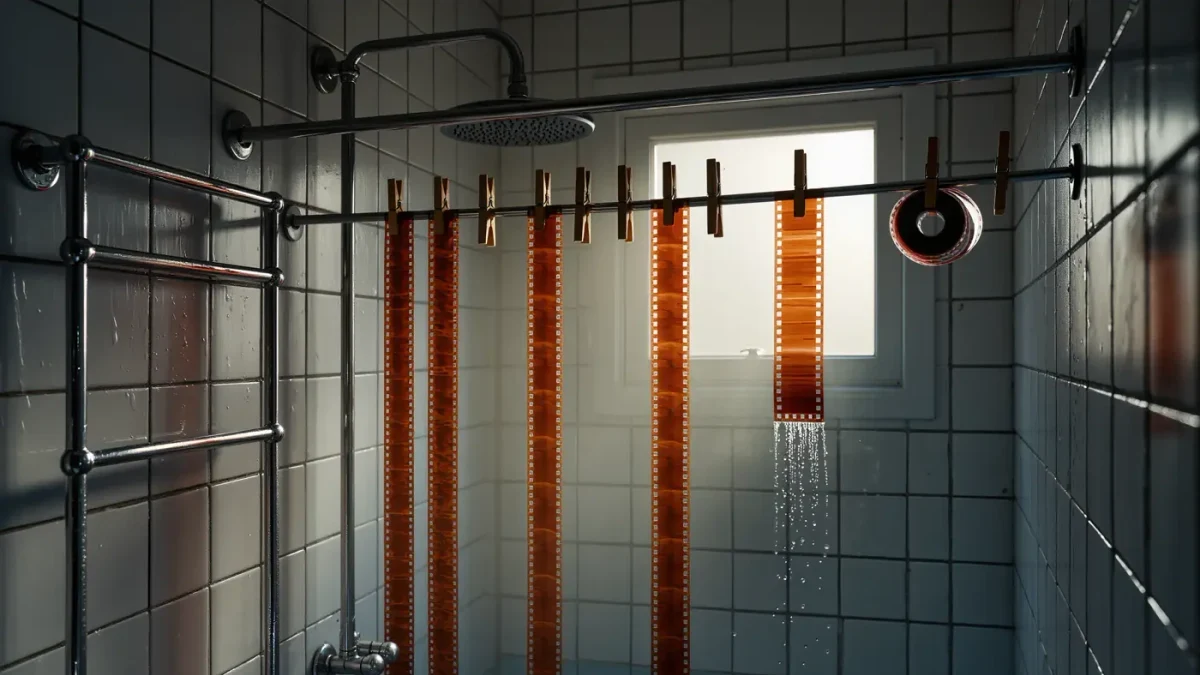
A bathroom darkroom setup rarely stays temporary. Once the first print dries on the shower rod, most homes simply accept that the bathroom belongs to photography on printing nights — and the conversion pays for itself within a few months of lab fees saved.