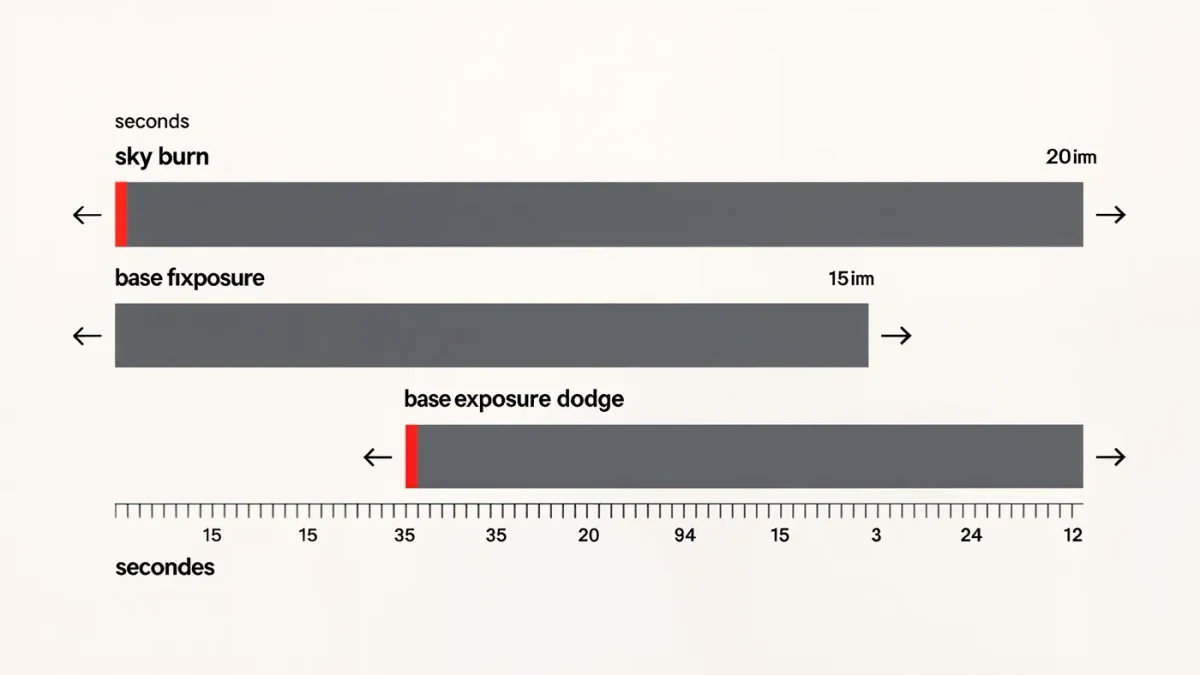
Dodging holds light back to lighten a print area; burning adds light to darken one — local exposure control, nothing more. Per Ilford's datasheet, Multigrade RC paper runs at ISO P 400 speed, which puts a typical 8x10 exposure around 10-20 seconds at f/8 (Ilford, as of 2024) — long enough to time a dodge on fingers.
How do you make a test strip first?
Every dodge and burn is a fraction of a base exposure, so the base has to exist first. A test strip — one sheet exposed in bands of increasing time — finds the exposure where the lightest important detail just renders. Without it, dodging is guesswork; with it, every local adjustment becomes arithmetic.
- Cut or place a sheet of paper on the easel and cover all but the first band with thick card.
- Expose in steps of three seconds — 3, 6, 9, 12, 15 — uncovering one more band each time.
- Develop, stop, and fix the strip at normal times, then judge it in full white light.
- Pick the band where highlight detail just appears; that band's time is the base exposure.
- Write the time on the strip — it is the reference every dodge and burn is measured against.
For variable-contrast paper, the honest strip is a filtered one: test at the grade intended for the final print, or make two strips — one soft, one hard — when the negative is contrasty. A strip made at the wrong grade systematically mis-times every correction built on it. darkroom coverage.
How do you dodge a print?
With something that blocks light, kept moving, for a chosen fraction of the exposure. Hands are the classic tool for large shapes; a disc of black card on a wire handles small ones. A 20 percent dodge on a 15-second exposure is three seconds — count it aloud, sweep the tool constantly, and edges stay invisible.
- Set the base exposure on the timer from the test strip and start with the negative sharply focused.
- Choose the area that prints too dark — usually a foreground or one side of a face.
- Decide the percentage first: ten to thirty percent covers most situations.
- During the exposure, hold the tool between lens and paper, roughly a third of the way down, moving in slow circles.
- Stop the dodge on the count and let the rest of the exposure run untouched.
How do you burn a print?
Cover everything except the area that needs more light, and give it extra seconds after the base exposure ends. A piece of card with a hole works for windows and skies; cupped hands work for edges. Burns run bigger than dodges — 20 to 50 percent — because blank areas swallow light gracefully.
- Give the whole print its full base exposure with no interference.
- Cover the print with opaque card, then uncover only the region needing more time.
- Run the burn as a separate exposure — five seconds on a fifteen-second base is a 33 percent burn.
- Keep the card moving in small circles so the hole's edge never photographs itself.
- For edges and corners, use cupped hands rotated slowly to feather the extra light inward.
How do variable-contrast filters change dodging and burning?
Filters change contrast, not exposure arithmetic — the same dodges and burns apply at any grade. What shifts is where local control does the most work: soft grades respond hardest in shadows, hard grades in highlights, so a dodge that barely shows at grade 2 may dominate at grade 4.
Practical routine: pick the grade with a filtered test strip first, then re-time the base exposure — each filter passes a different amount of light. After that, dodges and burns keep their percentage logic exactly as at any single grade. Note both numbers, filter and seconds, on every print's back.
Split-grade printing extends the idea to its logical end: the low-grade exposure carries shadow shaping, the high-grade exposure carries highlight shaping, and each pass gets its own dodge and burn plan. Many printers find extreme corrections easier to think about in two simple passes than one complicated one.
Why does a dodged area sometimes show an outline?
The tool stood still. A motionless dodge card photographs itself — its silhouette burns into the print as a hard-edged shape. Move the tool in slow, continuous circles slightly larger than the area being shaped, and the shadow stays soft beyond visibility. The same rule fixes visible hand shapes in burned skies.
The second cause is a tool that is too small or too high above the paper. A dodge card barely larger than its target projects a crisp shadow even while moving; a card with real margin, held closer to the lens where light is broad, keeps the transition feathered. When both habits combine, outlines disappear from prints entirely.
Distance from the paper matters in the same direction. A tool held near the lens casts a broad, soft shadow; the same tool just above the paper casts a sharp one. Raising the dodge card makes even a small tool behave like a large, feathered one — free softness, no extra equipment.
What are the most common dodging and burning mistakes?
Most mistakes are arithmetic or patience, not technique: no test strip, exposures too short to divide, tools held still, and results not written down. The darkroom has no undo, so the back of every print carries pencil notes — base time, filter, each dodge and burn — or the next sheet starts from zero.
- Printing without a test strip. Every local adjustment inherits the base error; find the base first.
- A base exposure under ten seconds. Stop the lens down instead of raising the shutter speed, so percentages become countable.
- Holding tools still. Motion is what keeps a dodge invisible; stillness is what makes it obvious.
- Dodging highlights and burning shadows. Dodge what is too dark, burn what is too light — reversed corrections double the error.
- Recording nothing. A good print that cannot be repeated is a print lost the moment the session ends.
The vocabulary is old and worth seeing in master prints — the Library of Congress's photographic collections put decades of dodged and burned silver prints one click away. Study the skies and shadows: the best of them were shaped by hands exactly like these steps.
Burning deserves one last calibration note: percentages compound across passes. Two separate 20 percent burns add roughly 40 percent more exposure, not 20 — plan totals before the enlarger switches on, and the arithmetic stays honest all evening.
Dodging and burning is where printing stops being reproduction and starts being interpretation. One test strip, a moving piece of card, and honest pencil notes cover everything the basics demand.